【android】ActionBarの背景色とタイトル文字色を変更する方法メモ
背景色を定義
res/drawable/actionbar_background.xml
<?xml version="1.0" encoding="utf-8"?>
<shape xmlns:android="http://schemas.android.com/apk/res/android" >
    <solid android:color="#FFFFFF"></solid>
</shape>res/values/styles.xml
<resources>
    <style name="AppTheme" parent="Theme.AppCompat.Light.DarkActionBar">
        <item name="colorPrimary">@color/colorPrimary</item>
        <item name="colorPrimaryDark">@color/colorPrimaryDark</item>
        <item name="colorAccent">@color/colorAccent</item>

    	  <!-- ActionBarのスタイル設定 -->
        <item name="android:actionBarStyle">@style/CustomActionBar</item>
        <item name="actionBarStyle">@style/CustomActionBar</item>
    </style>

    <!-- 背景色の設定とタイトルカラーのスタイル設定 -->
    <style name="CustomActionBar" parent="@style/Widget.AppCompat.Light.ActionBar.Solid.Inverse">
        <item name="android:background">@drawable/actionbar_background</item>
        <item name="background">@drawable/actionbar_background</item>
        <item name="titleTextStyle">@style/titleTextStyle</item>
    </style>

    <!-- タイトルカラーの設定 -->
    <style name="titleTextStyle" parent="TextAppearance.AppCompat.Widget.ActionBar.Title">
        <item name="android:textColor">#000000</item>
    </style>
</resources>色変えたいだけなのにandroid難しい。。。以上です
ffmpegで動画の1フレーム目の画像を取得
コピペ用にメモ。
動画ファイルの1秒から1フレーム目を取得する
ffmpeg -i input.mp4 -ss 1 -vframes 1 -f image2 output.png
wgetでページ丸ごと取得するコマンドメモ
たまに調査とかで別のサイトをダウンロードしてサイトが見たいことがある。
毎回調べてるのでコピペ用にコマンドをメモしておく。
# iPhone
$ wget -p -H -E http://example.com/ --user-agent="Mozilla/5.0 (iPhone; CPU iPhone OS 9_3_2 like Mac OS X) AppleWebKit/601.1.46 (KHTML, like Gecko) Version/9.0 Mobile/13F69 Safari/601.1"

# Android
$ wget -p -H -E http://example.com/ --user-agent="Mozilla/5.0 (Linux; Android 6.0.1; 404SC Build/MMB29K) AppleWebKit/537.36 (KHTML, like Gecko) Chrome/55.0.2883.91 Mobile Safari/537.36"
いちおう使ってるオプションもメモ
- p = 全てのリソース取得
- H = 別ホストのリソースも取得
- E = 拡張子はhtmlで保存
【onsenui】無限スクロールを実装する
はじめに
今回やりたかったのはよくある無限スクロール。
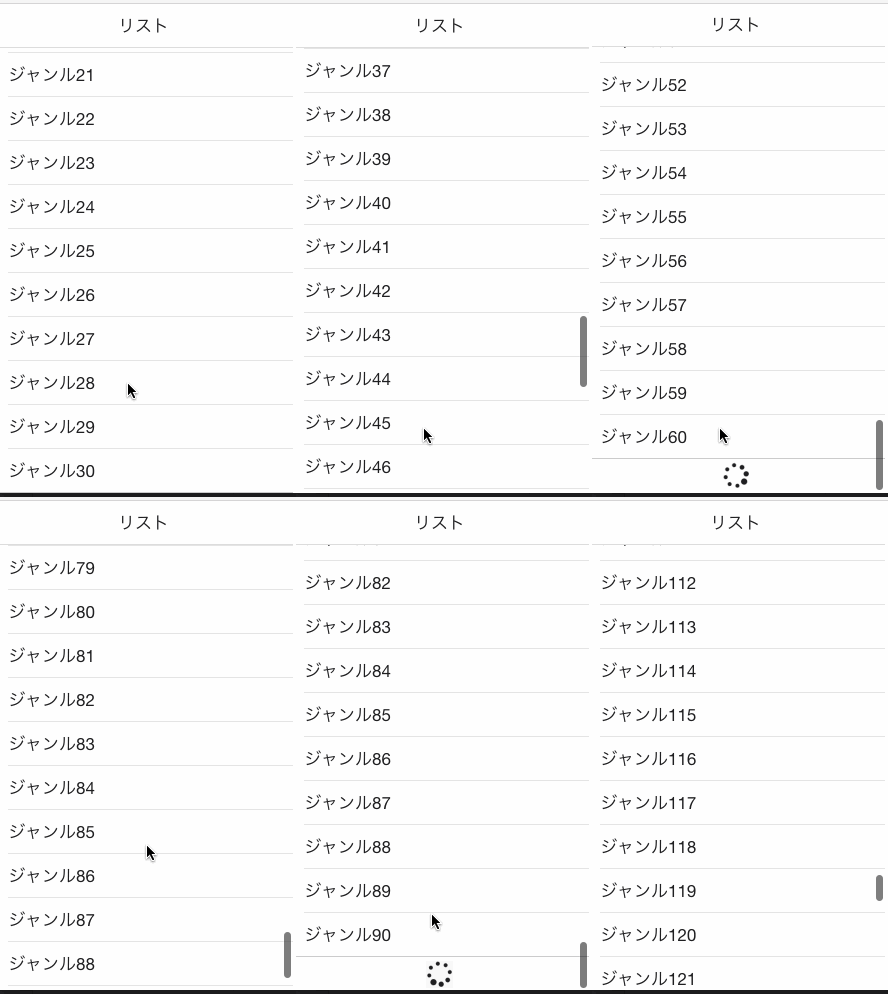
リストの1番下までスクロールしたら次のデータを取得しにゆきます。
これをAngular + Onsen UIで実装したのでメモしておく。

データ数の多いリストはパフォーマンス的にons-lazy-repeatを使うとよいらしい。
そちらについてはこちらでも試してみた。
実装
テンプレート
HTMLはこんな感じで実装。ons-lazy-repeatを使った基本的な形。
リストの最下部に読込中アイコンを置いて、状態によって表示・非表示を切り替えるようにする。
<ons-page ng-controller="MainCtrl">
  <ons-toolbar>
    <div class="center">リスト</div>
  </ons-toolbar>
  <ons-list>
    <ons-list-item ons-lazy-repeat="delegate">
      {{ item.name }}
    </ons-list-item>
  </ons-list>
  <ons-row ng-if="progress">
    <ons-col style="text-align:center;">
      <ons-icon size="30px" spin icon="md-spinner"></ons-icon>
    </ons-col>
  </ons-row>
</ons-page>
メイン処理
必要な処理としては以下
・APIに接続してデータを取得してくる
・1番下までスクロールしたらAPIに接続して次のデータを取得しにいく
1番下までスクロールしたかの判定はこんな感じ
.page__contentを対象にするのがポイントぽい
angular.module('sampleListApp')
    .controller('MainCtrl', function () {

        $('.page__content').on('scroll', function(e){
            var elm = $(e.currentTarget);
            if (elm[0].scrollHeight <= elm.height() + elm.scrollTop()) {
              // ココに1番下までスクロールした時の処理を記述
            }
});次はAPI接続部分
適当だけどAPIからはこんな感じのJSONが返ってくる想定
{
  contents: [
    {id:1, "アイテム1"},
    {id:2, "アイテム2"},
    {id:3, "アイテム3"},
    ・・・
  ]
}
取得部分をfactoryとして外だし
angular.module('SampleApp')
    .factory("ApiManager", function($http) {
        return {
            callApi: function(offset, callback) {
                $http({
                    method: 'GET',
                    url: "http://path/to/api?offset="+offset
                }).then(function successCallback(response) {
                    callback(respons.contents);
                }, function errorCallback(response) { });

            }
        };
    });
で、完成形はこんな感じに
angular.module('sampleApp')
    .controller('MainCtrl', function ($scope, $http, ApiManager) {

        $scope.items = [];
        $scope.progress = true;

        ApiManager.callApi(0, function(contents) {
            $scope.items = contents;
            $scope.progress = false;
        });
        $('.page__content').on('scroll', function(e){
            var elm = $(e.currentTarget);
            if ($scope.progress == false &&
                elm[0].scrollHeight <= elm.height() + elm.scrollTop()) {
                $scope.progress = true;
                ApiManager.callApi($scope.items.length, function(contents) {
                    for (var i = 0; i < contents.length; i++) {
                        $scope.items.push(contents[i]);
                    }
                    $scope.progress = false;
                });
            }
        });

        $scope.delegate = {
            configureItemScope: function(index, itemScope) {
                itemScope.item = $scope.items[index];
            },
            countItems: function() {
                return $scope.items.length;
            }
        };
    });
また、ずらずらかいたけど以上です。
【onsenui】ons-lazy-repeatでセルの高さを自動調整!!
はじめに
Onsen UIをいじってみて、無限スクロールのやり方を調べていた。
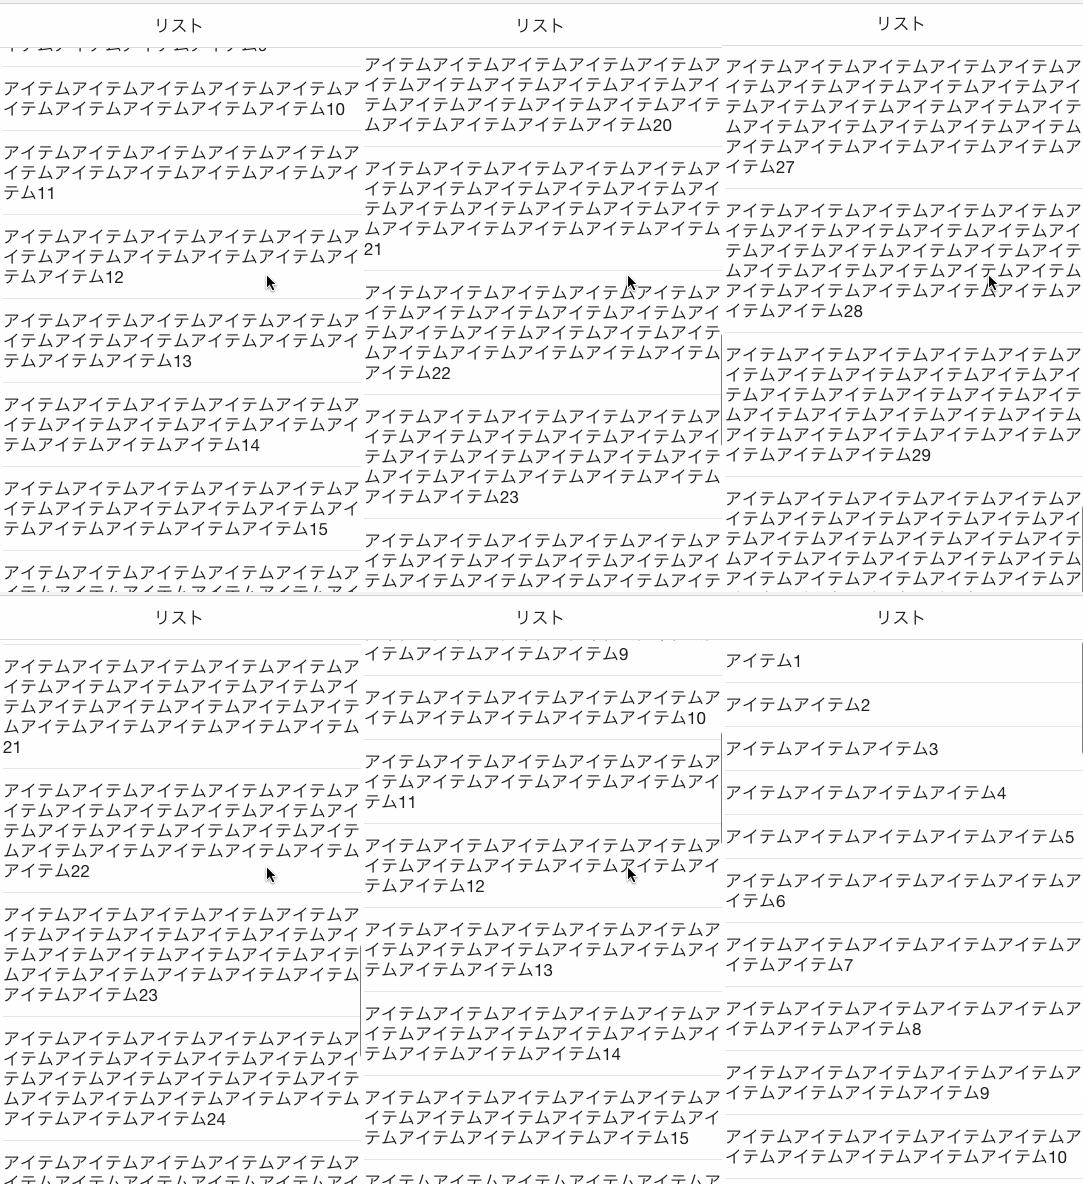
ドキュメント見ると行の高さを数値で返すという仕様なのだが他にやり方がないかteratailで質問したら最新版だと自動調整してくれるとの回答が来た。
まだ未リリースのため動作保証はないとのことだが、最新版を落としてビルドすれば試せるらしいので試してみた。2.2の正式リリースで採用されるらしい。

試した環境はangular1.6
onsenui@2.2のビルド
$ git clone -b master https://github.com/OnsenUI/OnsenUI.git
$ yarn install
$ npm install eco ancss gulp-less # 自分の環境では必要だった
$ gulp dist
自分の環境で出たエラー
Error: Cannot find module 'eco'
・・・
Error: Cannot find module 'ancss'
・・・
Error: Cannot find module 'gulp-less'
・・・
> ビルドされたファイルを使う
build/js/onsenui.min.js
build/js/angular-onsenui.min.js
build/css/onsenui.css
build/css/onsen-css-components.css
実際に使ってみる
<link rel="stylesheet" href="path/to/css/onsenui.css" />
<link rel="stylesheet" href="path/to/css/onsen-css-components.css" />
・・・
<script src="path/to/js/onsenui.min.js"></script>
<script src="path/to/js/angular-onsenui.min.js"></script>

<ons-page ng-controller="ListCtrl">
  <ons-toolbar>
    <div class="center">リスト</div>
  </ons-toolbar>
  <ons-list>
    <ons-list-item ons-lazy-repeat="delegate">
      {{ item.name }}
    </ons-list-item>
  </ons-list>
</ons-page>

<script>
    angular.module('MyApp', ['onsen'])
    .controller('ListCtrl', function($scope) {

        // 長さの異なる適当なデータを準備
        $scope.items = [];
        for (var i = 1; i <= 30; i++) {

            var name = "";
            for (var j = 0; j < i; j++)
                name += "アイテム";

            $scope.items.push({
                id: i,
                name: name + i
            });
        };

        // ons-lazy-repeatのdelegate
        $scope.delegate = {
            configureItemScope: function(index, itemScope) {
                itemScope.item = $scope.items[index];
            },
            countItems: function() {
                return $scope.items.length;
            }
        };
});
</script>
おわりに
率直にすごいと思いました。
Onsen UIとかまだちょっといじり始めた程度だけどハイブリッドいいかも。以上です
iOSアプリ申請時に最低限必要な画像
前に用意したことあったけど全然覚えてないしよくわからなかったので次回用に最低限準備しないとならない画像をメモ。
スプラッシュ画像
3125x5571を1枚用意。
これ1枚用意して、LaunchScreen.storyboardのViewControllerにUIImageViewを貼り付けてAutolayoutを上下左右0に設定したらどの端末でも綺麗になった。
この辺あまりわかってないけどとりあえずこれで。
ただ、これは画像じゃなくてもViewControllerなので自分で作れば不要かな。
アプリアイコン
1024x1024を1枚用意。
これを元にリサイズツール等で以下のサイズを準備してAssets.xcassetsにドラッグ&ドロップ。
20x20
29x29
40x40
58x58
60x60
76x76
80x80
87x87
120x120
152x152
167x167
180x180
ItunesConnectにアップするAppアイコンもこれで。
【android】ActionBarでのSearchViewの基本的な使い方
はじめに
今回やりたかったことは、ActionBarに検索バーをおいて検索すると検索用の画面へ遷移するということ。
最終的にやりたいことは検索バーで検索結果画面を開くところだけど、今回は検索バーをおいてイベントをハンドリングするところまで。

検索バーをおく
まずは画面遷移とかは考えずにとりあえず検索バーをおくだけ。
res/menu/main.xml
<?xml version="1.0" encoding="utf-8"?>
<menu xmlns:android="http://schemas.android.com/apk/res/android"
      xmlns:app="http://schemas.android.com/apk/res-auto">
  <item
      android:id="@+id/search_menu_search_view"
      app:actionViewClass="android.support.v7.widget.SearchView"
      app:showAsAction="always" />
</menu>MainActivity.java
public class MainActivity extends AppCompatActivity {

    SearchView mSearchView;

    ・・・

    @Override
    public boolean onCreateOptionsMenu(Menu menu) {
        super.onCreateOptionsMenu(menu);

        // 検索バーを追加(必須)
        getMenuInflater().inflate(R.menu.main, menu);

        // 文字色、サイズの変更とプレースホルダーセット(任意)
        SearchView.SearchAutoComplete searchAutoComplete = (SearchView.SearchAutoComplete)
            mSearchView.findViewById(android.support.v7.appcompat.R.id.search_src_text);
        searchAutoComplete.setHintTextColor(Color.rgb(0xff, 0xff, 0xff));
        searchAutoComplete.setTextSize(25);
        searchAutoComplete.setHint("検索キーワード");

        return true;
    }
}
検索ボタンのイベントをハンドリング
次に検索された時のイベントをハンドリング
MainActivityでSearchFragment.SearchFragmentListenerをimplementsして、SearchView.OnQueryTextListenerを実装すればok。
MainActivity.java
public class MainActivity extends AppCompatActivity implements SearchFragment.SearchFragmentListener {
    ・・・

    @Override
        public boolean onCreateOptionsMenu(Menu menu) {
        super.onCreateOptionsMenu(menu);
        getMenuInflater().inflate(R.menu.main, menu);

        // ★  追加
        MenuItem menuItem = menu.findItem(R.id.search_menu_search_view);
        mSearchView = (SearchView) menuItem.getActionView();
        mSearchView.setOnQueryTextListener(this.onQueryTextListener);
    }

    // ★ 追加
    private SearchView.OnQueryTextListener onQueryTextListener = new SearchView.OnQueryTextListener() {
        @Override
        public boolean onQueryTextSubmit(String searchWord) {
            // ★ 検索ボタンでここが呼ばれる
            return true;
        }

        @Override
        public boolean onQueryTextChange(String newText) {
            return false;
        }
    };
}
以上です